It’s early in the morning, you’re working on your camping checklist or running through those pre-backyard party to-dos, you turn to the all-important cooler and realize: You have no idea how to pack a cooler. Sure, you could just toss all those drinks and road trip snacks and ice packs inside and hope for the best, but there has to be a better way, right?
Right. There is definitely a better way—a way to pack a cooler that keeps everything inside cool and refreshing even after hours in the car or outdoors. Doing so may even allow you to fit more into the cooler, maximizing its cooling potential. (It’s a little like learning how to pack a suitcase in that regard.)
Depending on what you’re keeping inside, it’s sometimes necessary to pack a cooler correctly: Meats, cheeses, and other perishables can reach unsafe temperatures if they’re not kept cool enough, and packing the cooler the right way can help keep them that way. Here’s a quick guide on how to pack a cooler like a pro!
Packing a Cooler 101
Taking the time to pack the cooler right will keep your food and drinks more satisfying and cool; it can also keep you and your friends, family, and guests healthy, so there’s no reason to not do it. Learn how here, and enjoy chilled food and drink whenever and wherever you want for years to come.
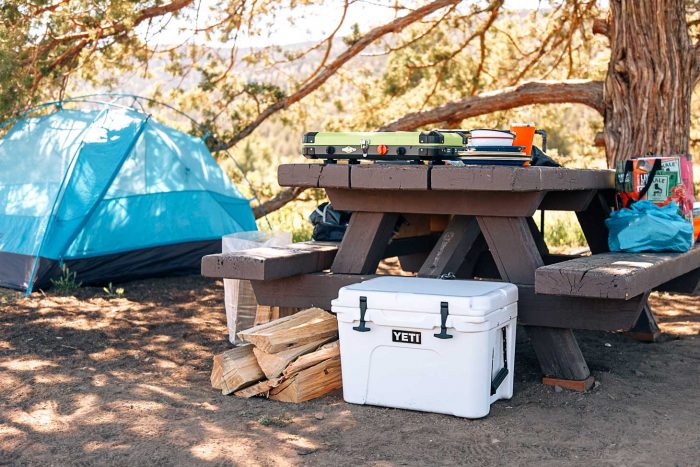
Photo from Fresh Off The Grid
1. Match the container to the outing.
For one-day excursions that include a lot of walking, opt for a soft-sided cooler, which is light and easier to carry. It also lets you squeeze out air, which will help keep everything chilled. Hard-sided containers typically have better insulation, making them good for longer trips, when food (especially perishables) needs to be kept cool for a few days.
Choose a container that’s about two inches thick—the thicker the insulation, the better it cools. High-end brands usually offer soft-sided coolers that can manage longer trips; in the case of coolers, a higher price does tend to mean better chilling capabilities.
2. Maximize chill.
Aim for about a 2-to-1 ratio of ice or gel packs to product. Start freezing gel packs at least 24 hours in advance so you don’t leave pockets of liquid on the inside, which spurs melting.
Fill plastic containers with water, freeze them, and pop out the slabs of ice. Or chill large water bottles, which can double as refreshing drinks later. Chill your cooler in a large fridge or freezer, or at least bring it inside—you don’t want to pack ice in a hot container.
3. Pack strategically.
Put large ice blocks on the bottom—they melt slowly and generate cold longest. Then add proteins and dairy. (For longer trips, pack proteins frozen; they act as bonus ice blocks and should thaw in a few days and be ready to cook.) Add more ice or gel packs, then drinks and items like guacamole and mustard, followed by another layer of ice. Top with soft items, such as sandwiches.
Pro tip: It’s best to keep a thermometer in your cooler if storing perishables. This is to check that food is stored at or below 40 degrees Fahrenheit. Bringing drinks only? Fill the cooler with ice and a half cup of salt. Salt water has a lower freezing point, and the cold water will touch the beverages at every point, whereas cubes leave pockets of air.
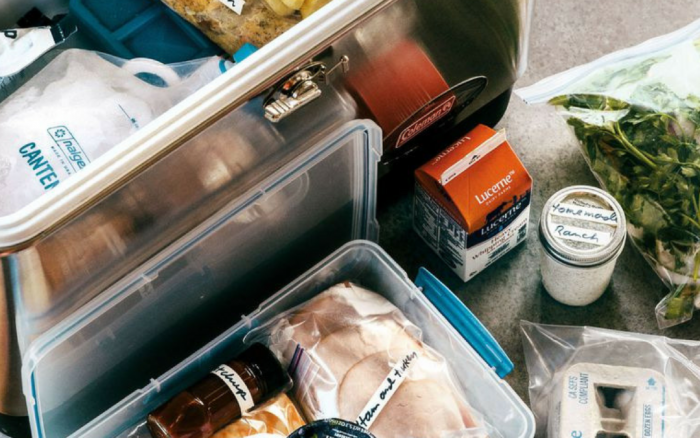
Photo from The Joy of Hiking
4. Store it in the shade.
Keep your cooler as chilly as possible while en route. It’s not always practical, but putting it in the air-conditioned car as opposed to the trunk should slow down ice melt. When you arrive, leave it in a shady spot.
If trees aren’t around, don’t keep it in the car—on an 80-degree day, the temperature inside a car can reach nearly 110 degrees in just 20 minutes. Instead, bring it outside and throw a light-colored blanket or towel on top to keep the temperature from climbing.
Pro tip: An emergency blanket (with the reflective side facing out) makes a handy shield too.
5. Slow down ice melt.
Once your cooler is firmly planted, keep the lid tightly shut and limit how often it’s opened. A cooler’s worst enemy is changes in the air temperature inside, and opening it a lot will raise the temperature. During one-day trips, resist the urge to pour out any melted ice—the water is actually an insulator that helps keep the remaining ice chilly.
Pro tip: If you’re using the cooler for a few days, you can drain the water, but fill the extra space with new ice and gel packs. Excess air can promote heat transfer and melt the remaining ice faster. If you’re low on ice, fill gaps with newspaper or Bubble Wrap to help eliminate air pockets.
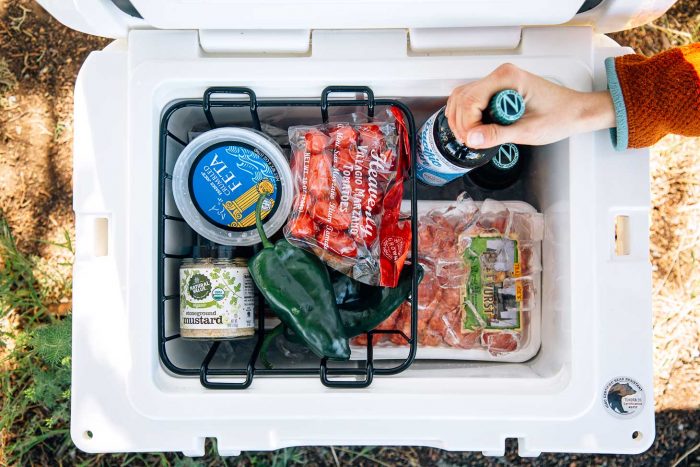
Photo from Fresh Off The Grid
Have you found our tips on packing and storing a cooler extra helpful? Be sure to keep these in mind for a truly enjoyable outdoor adventure with your friends or loved ones!


